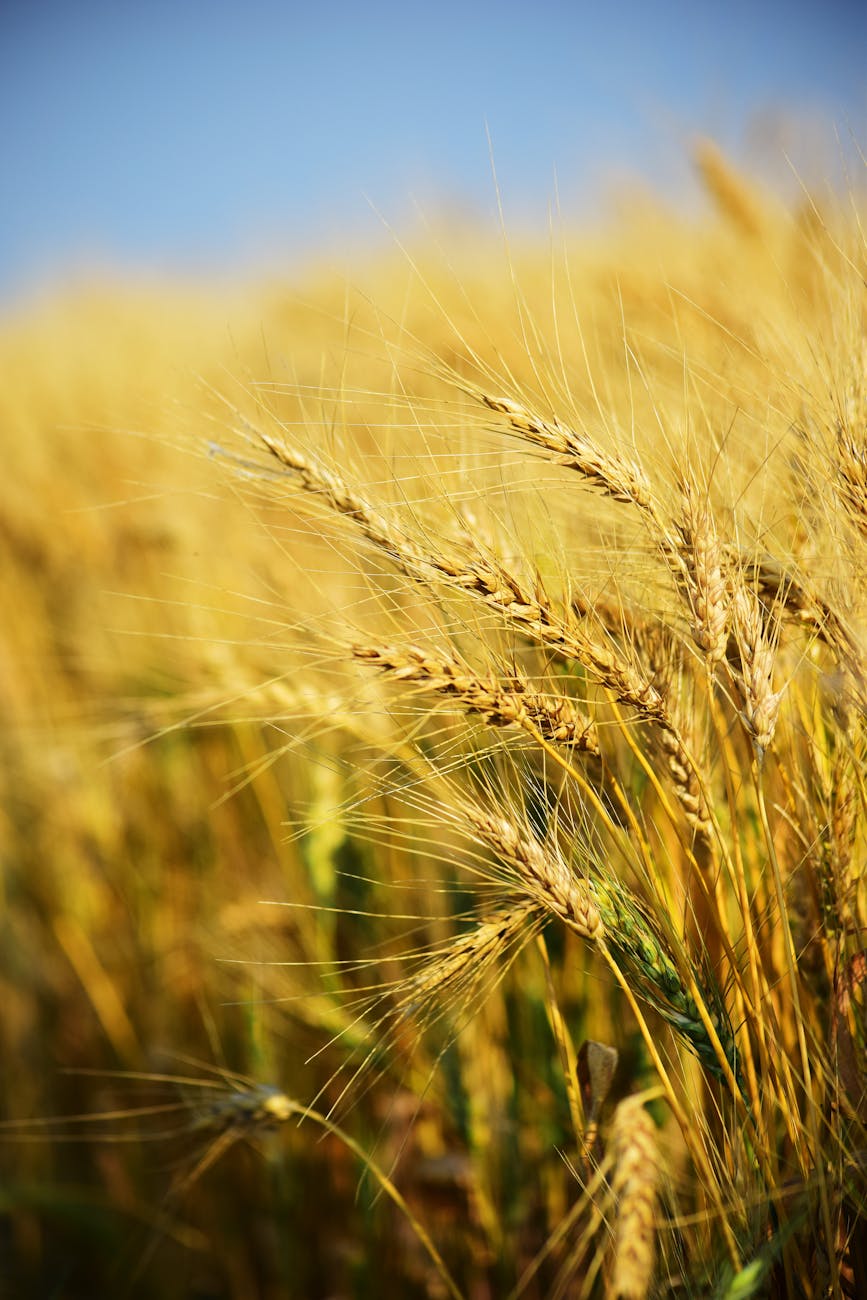
Learn how to grow wheat with our complete step-by-step guide. From planting to harvest, get expert advice on wheat farming techniques for high yields.
Introduction
Wheat is one of the most widely grown crops in the world and a staple food for millions. Whether you are looking to grow wheat on a large commercial scale or as a small farming venture, understanding the processes involved is crucial for achieving high yields and profitability. In this guide, we will cover the essential steps in wheat farming, from selecting the right variety to managing pests and diseases for a healthy, bountiful harvest.

1. Understanding Wheat Varieties: Wheat is a versatile crop, and selecting the right variety for your region and soil type is the first step toward success. Common wheat types include:
- Hard Red Wheat: Best for bread-making, thanks to its high protein and gluten content.
- Soft Red Wheat: Ideal for pastries, cakes, and crackers due to its lower gluten content.
- Durum Wheat: Used to make pasta, this wheat variety is hard and high in protein.
- White Wheat: Used in soft-textured baked goods like cakes and biscuits.
Choose a variety based on your intended market and growing conditions.
2. Preparing the Soil for Wheat Farming: Wheat thrives in well-drained, loamy soil with good fertility. Proper soil preparation is critical for optimal growth:
- Tillage: Deep tillage helps to break up compacted soil and promote root growth.
- pH levels: Wheat prefers slightly acidic to neutral soils with a pH range of 6.0 to 7.0.
- Fertilization: Incorporate organic matter like compost or well-rotted manure into the soil. Additionally, apply nitrogen-based fertilizers for better yield, but do a soil test to ensure proper nutrient balance.
3. Planting Wheat Seeds: Timing and spacing are essential when planting wheat seeds. Here’s how to get it right:
- Planting season: Wheat can be grown as a winter or spring crop. Winter wheat is typically planted in the fall and harvested in early summer, while spring wheat is planted in early spring and harvested in late summer.
- Seed depth: Plant wheat seeds about 1-2 inches deep in the soil.
- Spacing: For optimal growth, space wheat rows 6-8 inches apart.
After planting, lightly compact the soil to ensure good seed-to-soil contact for better germination.
4. Watering and Irrigation: Wheat requires consistent moisture, especially during critical growth stages like tillering, heading, and grain filling:
- Irrigation systems: In dry areas, consider using drip or sprinkler irrigation to maintain adequate moisture levels.
- Rainfed farming: If you’re relying on natural rainfall, make sure to plant wheat in a season that provides enough rainfall during critical growth stages.
Overwatering can lead to fungal diseases, so balance is key.
5. Fertilizing Wheat Crops: Wheat needs balanced nutrients throughout its growth stages to maximize yields:
- Nitrogen: Apply nitrogen at different growth stages. For winter wheat, apply in early spring, and for spring wheat, apply after the tillering stage.
- Phosphorus and Potassium: Both are crucial for root development and grain filling. Use balanced N-P-K fertilizers based on soil tests.
Consider split applications of fertilizers to avoid nutrient leaching and promote steady growth.
6. Weed, Pest, and Disease Control: Weeds, pests, and diseases can significantly impact wheat yields if not managed properly:
- Weed control: Early weeding is essential to prevent competition for nutrients and water. Use mechanical weeding or apply selective herbicides that target weeds without harming wheat.
- Common pests: Wheat is vulnerable to pests like aphids, armyworms, and Hessian flies. Implement integrated pest management (IPM) strategies, including natural predators and insecticides when necessary.
- Diseases: Fungal diseases like rust, powdery mildew, and smut are common in wheat. Fungicide treatments and crop rotation can help manage these issues.
Regular field scouting will allow for early detection and timely control of pests and diseases.
7. Harvesting Wheat: Wheat is ready for harvest when the grain has dried, the plants have turned golden brown, and the kernels are hard. Here’s how to determine when to harvest:
- Moisture content: Wheat should have a moisture content of around 14% for ideal harvesting.
- Threshing: Use a combine harvester to thresh and separate the wheat grains from the stalks.
For small-scale farmers, manual harvesting using sickles followed by threshing machines can also be done.
8. Storing Wheat: Proper storage is crucial to maintaining the quality of your wheat crop:
- Drying: Ensure that the wheat grains are fully dried before storage. Grains with high moisture content can lead to mold and spoilage.
- Storage conditions: Store wheat in a cool, dry place. Use sealed containers or grain silos to protect the crop from pests and humidity.
- Insect control: Keep an eye out for storage pests like weevils. Using insecticides or natural deterrents can help keep your stored wheat safe
With proper storage, wheat can last for months without losing its nutritional value or marketability.
Conclusion on how to grow wheat crops
Wheat farming can be a profitable venture when done correctly. By choosing the right variety, preparing the soil well, and managing pests and diseases, you can enjoy a high-yield crop that meets market demand. Whether you are growing wheat as a winter or spring crop, paying attention to the details—such as timely planting, fertilizing, and proper irrigation—will help ensure a successful harvest.
