Welcome to this hall on the Title: Soil Preparation for Root crops.
Learn how to prepare soil for root crops like carrots, potatoes, and beets. Follow our essential steps for improving soil quality, drainage, and nutrient levels to ensure a successful harvest.
Introduction
When it comes to growing root crops like carrots, beets, radishes, and potatoes, proper soil preparation is key to ensuring a bountiful and healthy harvest. Unlike leafy vegetables or fruits that grow above the surface, root crops rely on loose, well-aerated soil to develop underground. Without the right conditions, they may become stunted, misshapen, or fail to thrive altogether. In this post, we’ll cover the essential steps for preparing your soil to grow the best root crops possible.
See Also
- Cassava cultural practices, guide for cassava farming
- How to grow potatoes, a complete guide
- Yam cultivation, cultural practices and Importance
Why Soil Preparation for Root Crops Is Important
Root crops grow primarily below the soil surface, meaning their roots need plenty of space to expand and access nutrients. Soil that is compacted, poorly drained, or nutrient-poor will make it difficult for these crops to grow properly. Well-prepared soil not only allows roots to develop fully but also improves aeration and water retention, ensuring your plants have the best environment to thrive.
Step 1: Test and Amend Your Soil
Before planting, it’s crucial to test your soil’s pH and nutrient levels. Root crops prefer slightly acidic soil with a pH between 6.0 and 6.8. You can purchase an at-home soil testing kit or send a sample to your local agricultural extension office for a detailed analysis.
- pH Adjustment: If your soil is too acidic, add lime to raise the pH. If it’s too alkaline, incorporate sulfur to lower it.
- Nutrient Levels: Root crops need nutrient-rich soil, particularly phosphorus and potassium, which encourage strong root development. If your soil is lacking, mix in organic compost or a balanced fertilizer to boost nutrient content.
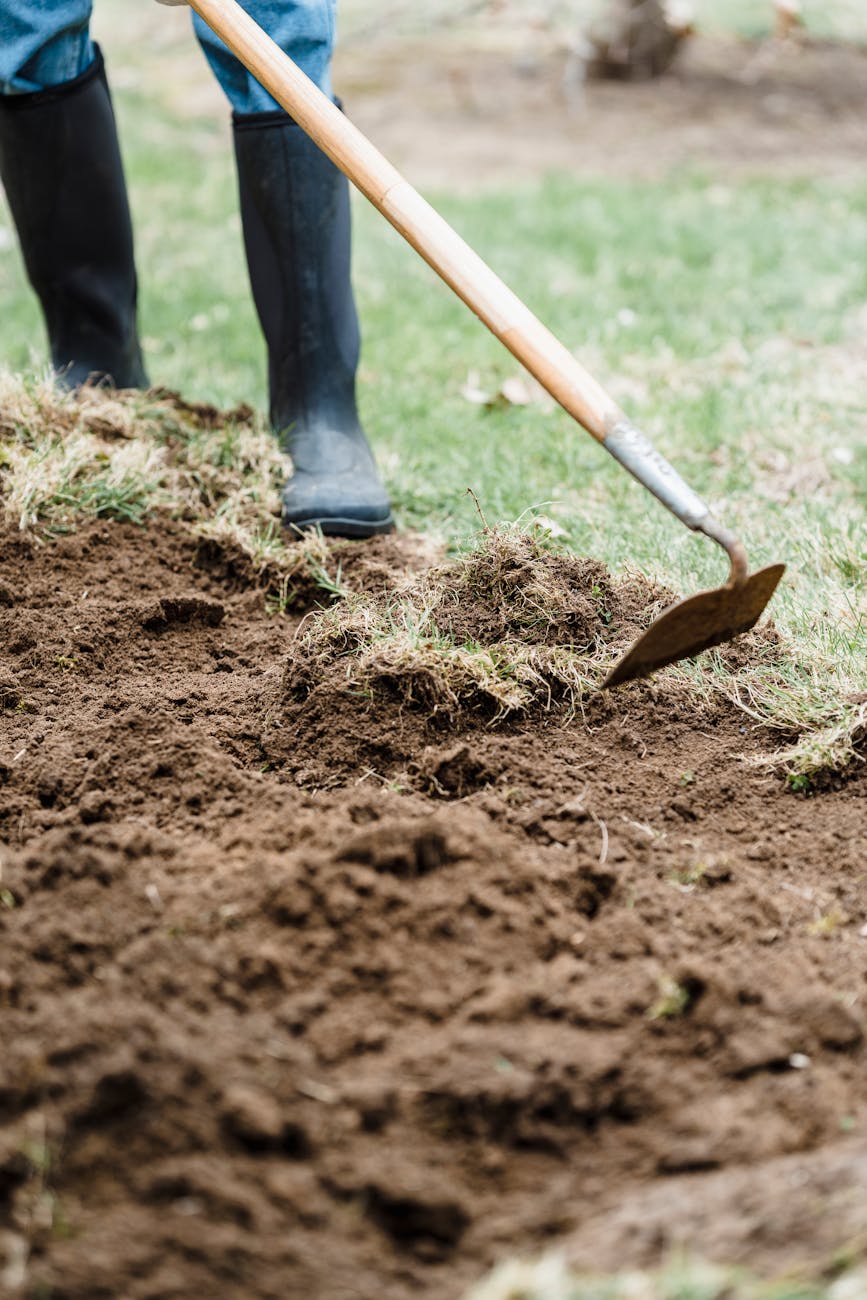
Step 2: Loosen the Soil
Compacted soil is one of the biggest enemies of root crops. Hard, dense soil prevents roots from penetrating deeply and growing evenly. To prepare your soil for planting, you’ll need to loosen it thoroughly:
- Till the Soil: Using a garden tiller or a broad fork, loosen the top 12-18 inches of soil. This depth allows ample space for the roots to grow without hitting hard soil layers.
- Break Up Clods: After tilling, break up any large soil clumps and remove stones, sticks, or debris. These can obstruct root growth and lead to misshapen crops.
Step 3: Improve Drainage
Root crops are highly sensitive to waterlogged soil. Poor drainage can lead to rotting, disease, and nutrient deficiencies. If your soil tends to retain water, you’ll need to amend it to improve drainage:
- Add Organic Matter: Work organic matter like compost, well-rotted manure, or peat moss into the soil. This not only improves drainage but also boosts nutrient content and helps retain moisture without waterlogging.
- Create Raised Beds: If your soil is particularly heavy, consider planting root crops in raised beds. Raised beds allow for better drainage and make it easier to control soil quality.
Step 4: Avoid Excess Nitrogen
While nitrogen is essential for plant growth, too much can lead to lush, leafy tops at the expense of root development. Root crops don’t need as much nitrogen as other plants, so be mindful of the fertilizers you choose:
- Use Low-Nitrogen Fertilizer: Opt for fertilizers that are higher in phosphorus and potassium but lower in nitrogen, such as a 5-10-10 formula. This will encourage strong, healthy root growth.
- Incorporate Bone Meal: Bone meal is an excellent natural source of phosphorus, which is critical for root development. Mix it into the soil before planting for a nutrient boost.
Step 5: Mulch for Moisture and Weed Control
Once your soil is prepped and your seeds or transplants are in the ground, applying a layer of mulch can help retain moisture, suppress weeds, and maintain soil structure.
- Organic Mulch: Use organic mulches like straw, grass clippings, or shredded leaves. These will slowly decompose and add organic matter to the soil.
- Maintain Even Moisture: Mulch helps keep the soil evenly moist, preventing the fluctuations that can cause root crops to split or develop irregular shapes.
Step 6: Rotate Your Crops
Crop rotation is essential for maintaining soil health and preventing diseases in root crops. Avoid planting root vegetables in the same spot year after year, as this can deplete soil nutrients and encourage pests.
- Rotate Every 2-3 Years: Plan your garden layout so that root crops rotate with other plant families (like legumes or leafy greens) every two to three years. This gives the soil a chance to recover and reduces the risk of soil-borne diseases.
Common Soil Problems and Solutions for Root Crops
1. Compacted Soil: If your soil remains compacted despite tilling, consider adding more organic matter and avoid walking on garden beds, as this compacts the soil again.
Poor Nutrient Levels: For low-fertility soils, amend with compost and organic fertilizers throughout the growing season. Root crops are heavy feeders and require a constant supply of nutrients.
Pests: Root crops can attract pests like root maggots and nematodes. Healthy, well-prepared soil helps plants resist these pests, but consider using organic pest control methods or crop rotation to mitigate issues.
Conclusion on the soil preparation for root crops
Soil preparation for root crops is one of the most critical steps in ensuring a successful harvest. By testing and amending your soil, loosening and improving its structure, and maintaining the right nutrient balance, you’re setting your garden up for success.
Proper soil care leads to healthier plants, larger yields, and better-quality produce. With these steps, your garden will be ready to produce robust, flavorful root crops year after year.